by Ian Agrell
Mallet-and-Gouge Do’s
Correct tool control is all about using your forearm, fingers, and hands to support the carving motion safely and efficiently. Following these techniques will allow you to work longer while keeping your fingers in one piece. Best of all, your carving will look cleaner and crisper in the process.
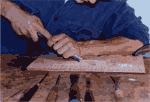
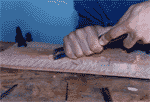
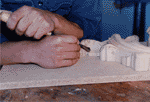
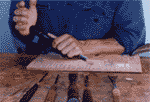
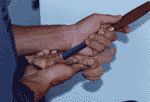
- Note that the blade of the tool is held about 1 1/2 inches from the cutting edge and the forearm is supporting the chisel. In this way the outer heel of the hand can be used as a pivot. The hands are firmly holding the gouge and almost opposing each other in tension. With practice and a sharp tool, you can burnish the wood as you cut it—and even take a few liberties against the grain.
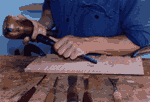
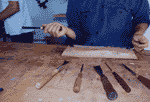
- A typical carving action using a mallet.
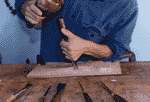
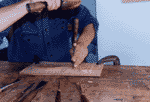
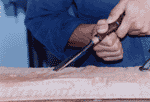
- Cutting down using a mallet. Note the elbow is tucked into the body and is resting on the carving to offer support and control.
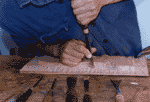
- Cutting down without a mallet, again a lot of support from the right hand. You can also use your chest or shoulder to push with.
- Here the gouge is reversed and the concave inside of the blade is being used to carve, taking advantage of the convex shape required for this part of the carving.
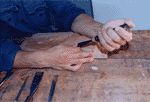
- Note the fingers are supporting the gouge as they rest on the wood and hold the tool at the same time.
- It is a good idea to turn the carving around so that you can tackle the grain from the correct direction. If you’re careful, this position is not as crazy or dangerous as it looks. It does, however, take practice.
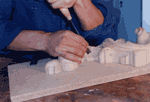
- When using a spoon gouge to scoop out the wood, the right hand is used as a support and a fulcrum while the left hand comes across.
- Note the arms held tightly against the body to assist the control.
Mallet-and-Gouge Don’ts
Here are a series of photos that show bad tool-handling techniques. Obviously it is important not to hurt yourself (or others) with these razor-sharp woodcarving tools.
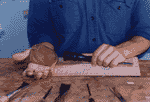
- It is tempting to use the heel of your hand to hammer the handle of the tool, rather than to pick up a mallet. This will lead to what was called “carvers claw,” where the fingers are drawn permanently towards the palm of the hand. Believe it or not, furniture and architectural carvers—up until quite recently—were actually proud of this affliction because it showed their dedication to their trade. Nowadays, we just think that’s a bit weird.
- Full-time carving can be tough on the hands, particularly if you don’t use a mallet at the roughing out stage. Get into the habit of using a mallet; it will also speed up your work and add a vibrancy to the look of the carving. There are pads available that protect your hands if you are undertaking a lot of detailed finishing, especially in harder woods.
- Not clamping down your work leads to the accident that is about to happen here, and I have seen this type of handling even when the work is clamped down. The gouge is going to skid froward and cause about five stitches. If you do this, first make sure you have a decent set of bandages so that you can avoid getting blood all over the car on the way to hospital.
- Here comes another accident as you clean up the undercutting. Instead, carefully use a pen knife.
- Cutting yourself is one thing, stabbing your friends and family is another. Gesturing with a chisel in your hand is dangerous. If your colleague asks for directions to the timber yard, put that razor-sharp No. 5 down first.
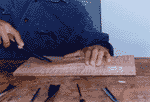
- This shoveling motion is not the way to effectively use a chisel.


